A Space Background (for Web Games) in JavaScript with QCObjects
A smart technique to build a background for a web game
So many people want to start to develop web games today. However, there is not always an easy way to start. Today I'm gonna show you how to create a space background component for web games using math, JavaScript and QCObjects.
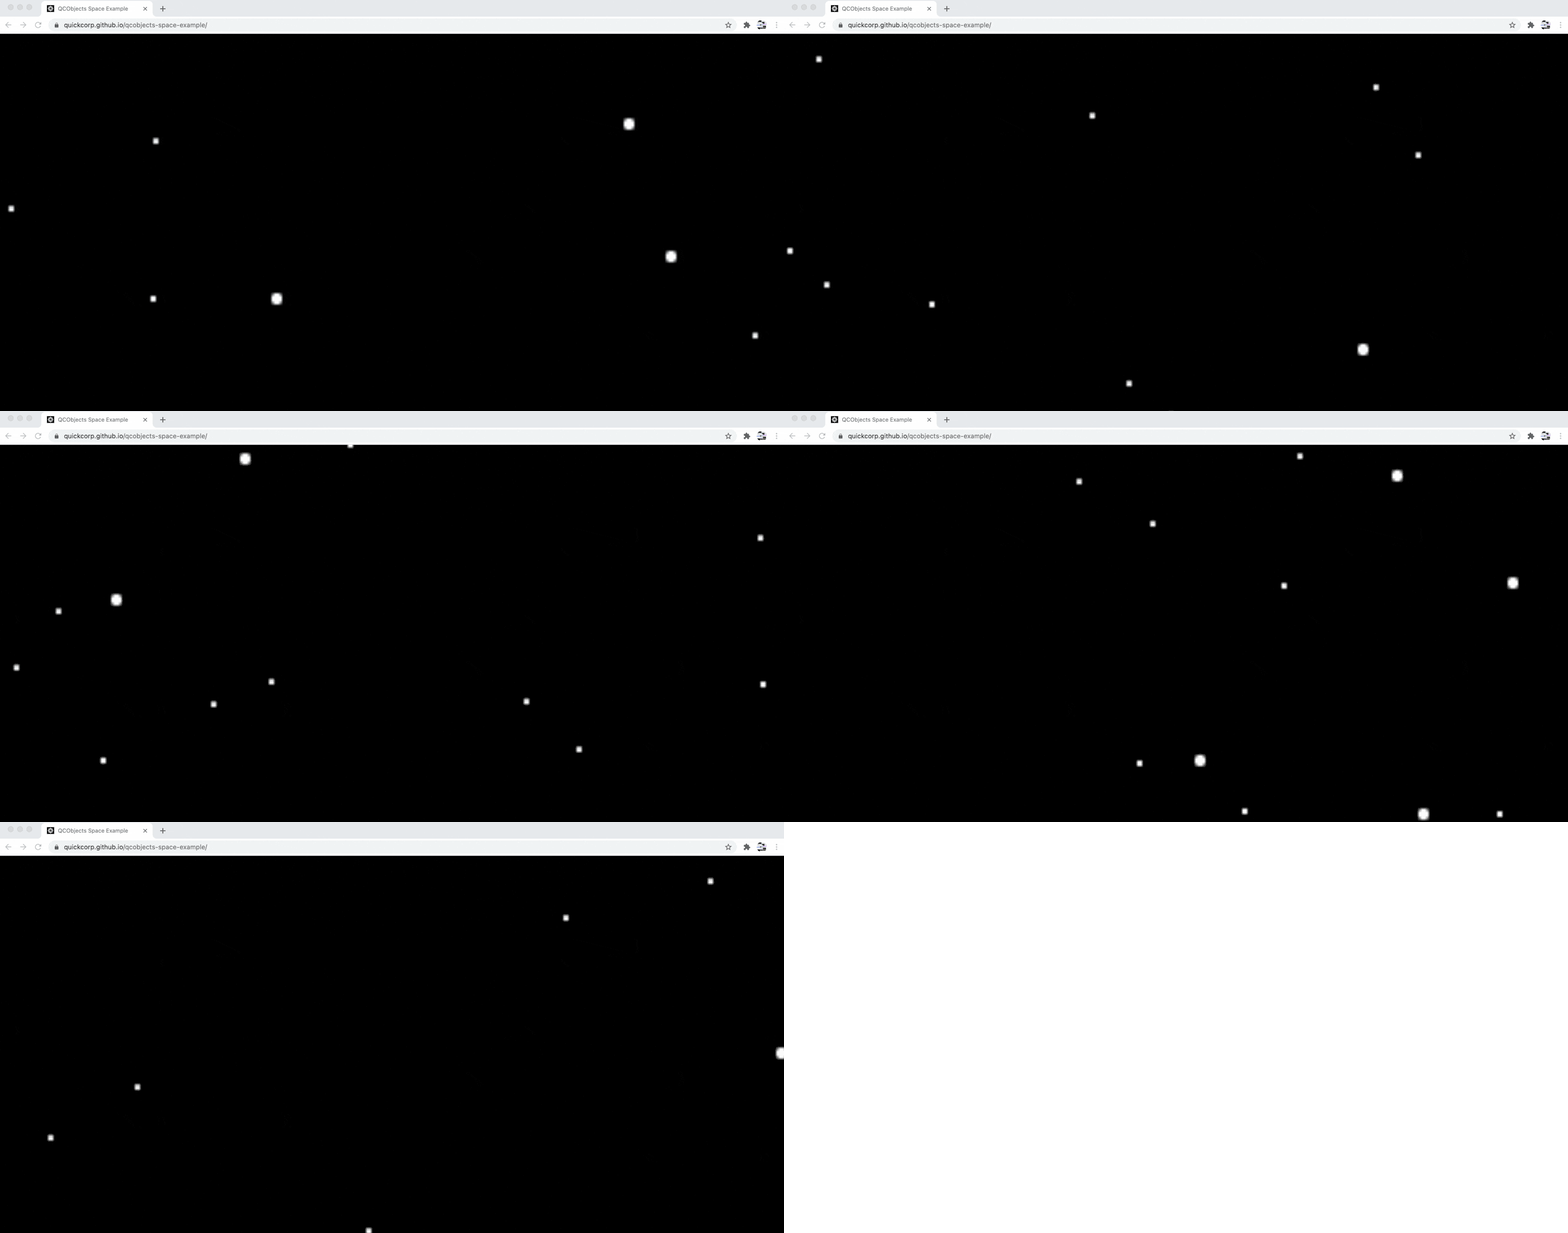
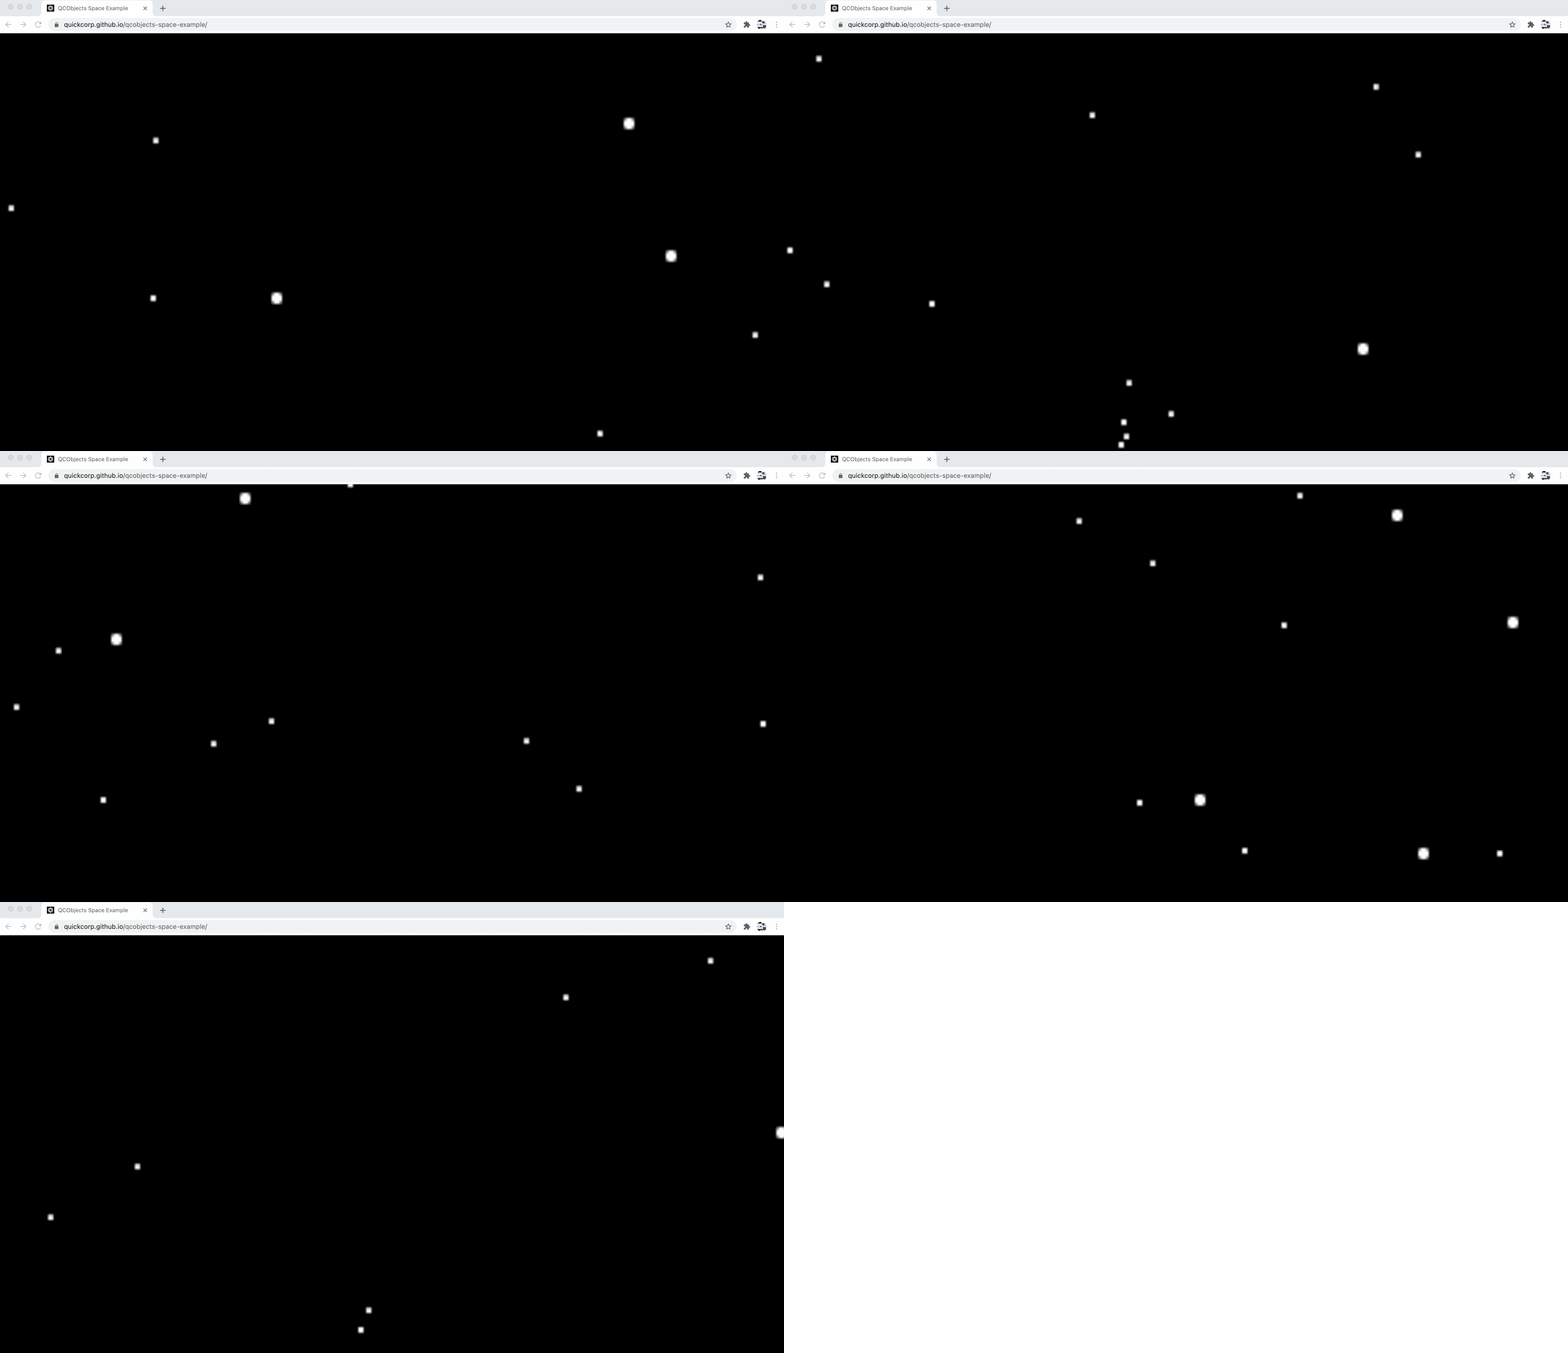
To a better understanding about what we gonna make, here is an screenshot of the example running:

So let's start coding:
What we first need to do is to place our component where we want to show it, this time it is gonna be in our index.html file, and we gonna use a component tag to place it. We're gonna call the component "space" in the name attribute and we're gonna control it with a custom component class named "SpaceComponent".
<component name="space" componentClass="SpaceComponent"></component>
The above custom class named SpaceComponent is gonna be created like this:
Class("SpaceComponent", Component, {
   name:"space",
   _new_ () {
      // Your code comes here
   }
})
We are not gonna need the smart cache for this component as it will not be using a template. To disable the cache we just have to use the "cached" attribute and set it false.
Class("SpaceComponent", Component, {
   name:"space",
   cached: false, // this is set to false to disable smart cache in this component
   _new_ () {
      // Your code comes here
   }
})
We need to fill up the component with a dynamic canvas that creates so many dots inside it for itself, and that can run in the background as independent of the rest of the components. This background will be capable to control its own behaviour when it is resized and also every dot needs to be responsive.
For that purpose we gonna create a custom class called "MySpace2d" and this one will be extended from a traditional HTMLCanvasElement.
Class ("MySpace2d", HTMLCanvasElement, {
   // your awesome properties come here
})
Now, what we gonna do is to add some properties here: the ctx property to create a custom context for the canvas and a body for the element filled up with a new canvas.
Class ("MySpace2d", HTMLCanvasElement, {
   ctx: null,
   body: document.createElement("canvas"), // this line also can be _DOMCreateElement for new versions
})
We need to add a method to build a dot, that will receive x, y, z coordinates as parameters:
dot (x, y, z) {
 // build the dot
},
To build a dot we need to create a path into the canvas in the form of a circle, we gonna use arc function of the canvas element.
dot (x, y, z) {
      var ctx = this.ctx;
      ctx.beginPath();
      ctx.arc(x, y, width, 0, 2 * Math.PI);
      ctx.fill();
      ctx.stroke();
      ctx.closePath();
},
Also, we gonna create an auxiliar function to calculate a random position between a min and a max
      getRandPos (min, max){
          return Math.floor( Math.random () * (max - min + 1 ) + min);
      },
Our next step will be to add a method to place the dot into the canvas using the random position calculated. We gonna give a square of 1200 x 1200 px to be moved into. And the dot is gonna have a width between 0.001 and 1.41 px (given to the z axis).
      randDot (x, y){
          var randY = this.getRandPos(y / 500, 1200);
          var randX = this.getRandPos(x / 500, 1200);
          var randWidth = this.getRandPos(0.001, 1.41);
          this.dot(randX, randY, randWidth);
      },
Then we can add the engine method draw to do the main job. We're gonna draw 500 dots in one shot using the range function of QCObjects and mapping the result to call randDot from the main (this) instance.
      draw (){
          var instance = this;
          instance.clear(); // this method is gonna be created later
          range (0, 500).map ((i) => {
              instance.randDot(i, i);
          })
      },
We are also gonna add some custom styling here to fill the background of the canvas of black and give the canvas a responsive behaviour:
      fillbackground () {
          this.body.setAttribute("style", "height: 100vh; width: 100vw; display: block; background-color: black");
      },
So we are ready to code the constructor of our custom canvas element. We are gonna link the main context ctx with the body context to bring it alive.
      _new_ (){
          this.fillbackground();
          this.ctx = this.body.getContext("2d");
          this.ctx.fillStyle = "#ffffff";
          this.ctx.strokeStyle = "#ffffff";
          this.ctx.lineWith = 0.01;
      },
We are seen a lot of dots filling the background but overlapping themselves one another.
So we need to clear the background every time we call to the draw method. To do this we're gonna make a clear method that creates a rectangle using clearRect (so similar to clip: rect in css)
      clear (){
          var ctx = this.ctx;
          ctx.beginPath();
          ctx.clearRect(0, 0, ctx.canvas.offsetWidth + 100, ctx.canvas.offsetHeight + 100);
          ctx.fill();
          ctx.stroke();
          ctx.closePath();
      },
Then we call the clear method into the draw method.
      draw (){
          var instance = this;
          instance.clear(); // this is the method what we've just created before
          range (0, 500).map ((i) => {
              instance.randDot(i, i);
          })
      },
Now, coming back to the SpaceComponent custom class, we code its constructor creating an interval that calls the draw method every 90 milliseconds.
    Class('SpaceComponent',Component,{
        name:'space',
        _new_ (o){
            var spaceContext = New (MySpace2d, {});

            // by setting an interval to draw we got a space traveling effect as a result
            setInterval (function (){
                spaceContext.draw();
            }, 90);

             // this will append the canvas element to the component
            this.body.append (spaceContext);
        }
    })
You can read the complete example here to learn more
And if you want to see the example up and running you can go here
If you want to see the [live code session I've done recently with this example check out this video

