Making a GraphQL Micro-service with QCObjects HTTP2 Built-In Server


In the following step-by-step tutorial I'll show you how to make a fancy, clean and quick micro-service using QCObjects HTTP2 Built-In Server and GraphQL
If you want to know more about GraphQL go to https://graphql.org
If you want to learn more about QCObjects go to https://qcobjects.dev
1.- Create a progressive web app using the command line of QCObjects CLI Tool (you should be inside the project's folder):
> qcobjects create --pwa mynewmicroservice
2.- Install GraphQL inside the project's folder:
> npm install graphql --save
3.- Create/Edit a config.json file inside the project's folder
> vi config.json
4.- In the new config.json file add the following lines:
{
  "relativeImportPath": "js/packages/",
  "domain": "0.0.0.0",
  "backend": {
    "routes": [{
      "path": "/helloworld",
      "microservice": "org.quickcorp.custom.backend.helloworld"
    }]
  }
}
5.- Then create/edit a new package inside the js/packages folder:
> vi js/packages/org.quickcorp.custom.backend.helloworld.js
6.- The following animation shows the basic code of a Microservice using GraphQL and QCObjects HTTP2 Built-In Server

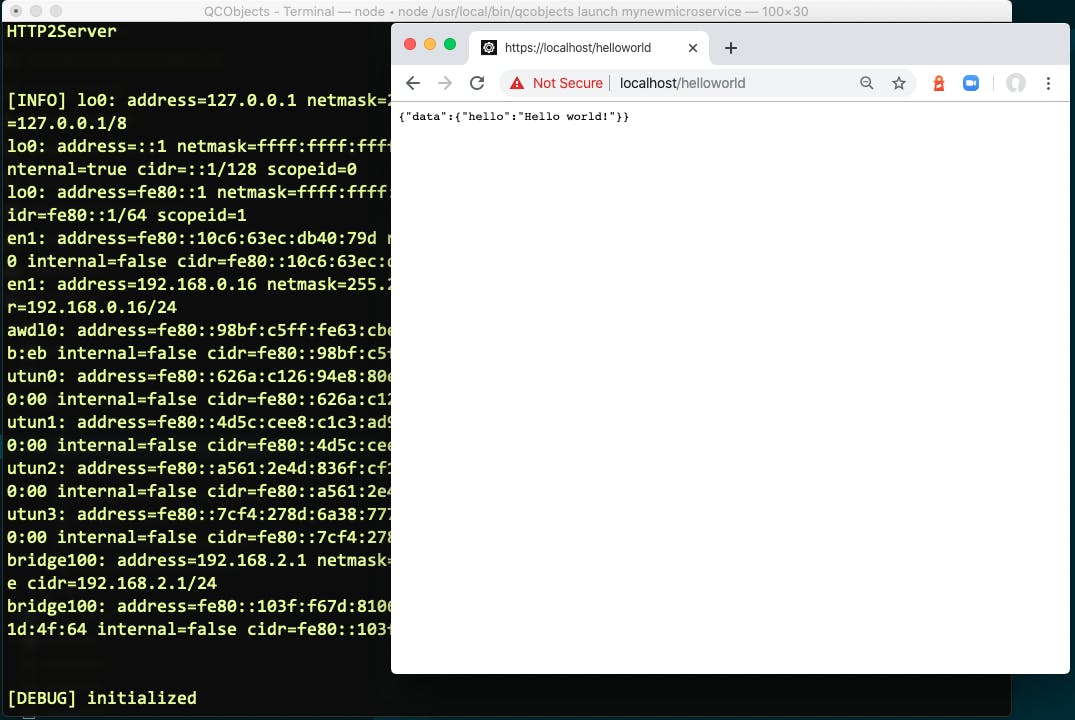
7.- Launch the QCObjects HTTP2 Built-In Server using the following command line:
> qcobjects launch mynewmicroservice
8.- Then open a browser in the address 127.0.0.1/helloworld and you should see a result like this: